


To install your Meta Quest 2 on Windows you will first need to download the configuration software and then connect the viewer to your computer via cable (MQ Link) or WiFi (Air Link).
Follow the instructions on the official Meta website:
These requirements are described in the following link:
- 3D Mode: User can use the application without any special device.
- VR Mode: The user will use the Meta Quest 2 viewer to interact in the environment.
The user will be able to move around the environment using the keyboard (arrow keys to scroll) and the mouse (moving it to rotate the point of view). In order to interact with the different action elements of the environment, the space bar of the keyboard will be pressed to change the function of the mouse pointer. The mouse is free to click on the buttons and the point of view stops. To return to the previous function, press the space bar again.
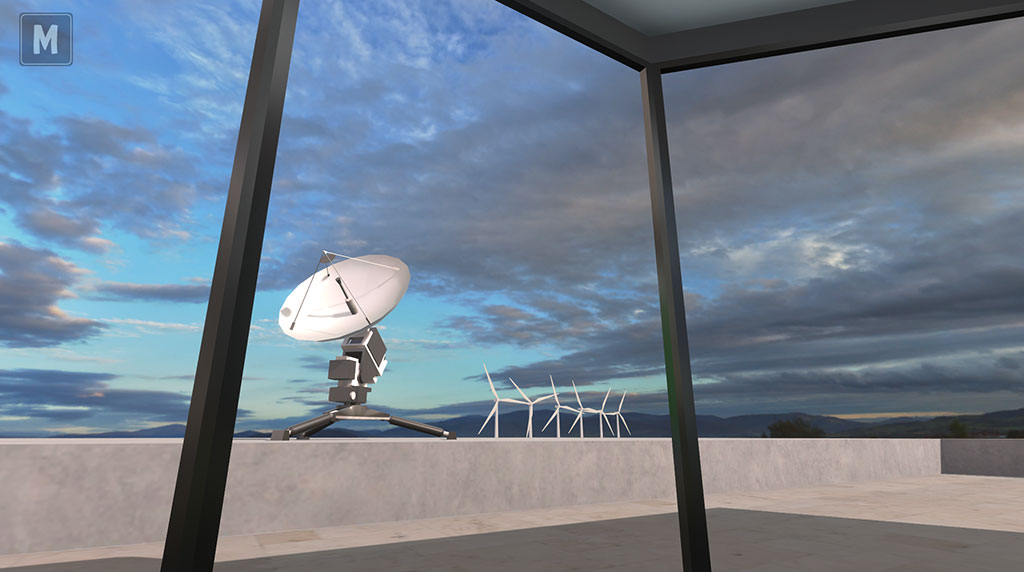
By clicking on the "M" button located at the top left of the screen you can access the menu.

The user will be able to visualize the environment through the VR viewer and interact with the objects through the manual controllers. To move the "thumbsticks" of the controllers will be used. The right one is used to move and the left one to turn.
The virtual hands are provided with bracelets. On the right bracelet you can activate 2 buttons that are used to change the way you move: continuous and teleportation.
In continuous mode, both scrolling and rotation is continuous with a fixed speed. This mode can make some people dizzy.

In teleport mode, movement occurs in jumps. With the right "thumbstick" you point to the place where you want to go and the avatar instantly moves to that point. The rotation, likewise, is performed discreetly every 30 degrees.
It is also possible to interact with the environment using the different controls of the controllers. With the “Grip” you can pick things up and with the “Trigger” you can aim a lightning bolt to press action buttons.
On the left bracelet you can activate 2 other buttons, one to access the menu and the other to activate or deactivate the voice chat recorder.

- Show Point: Desktop capture.
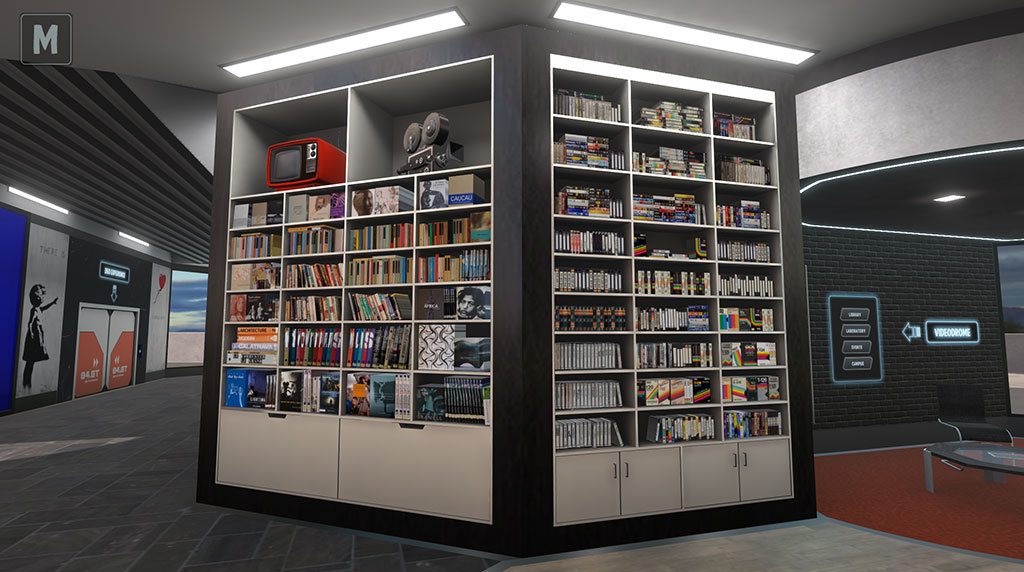
- Videodrome: Viewing videos.
- InterZone: Internet access.
- 360 Experience: Viewing 360 videos.
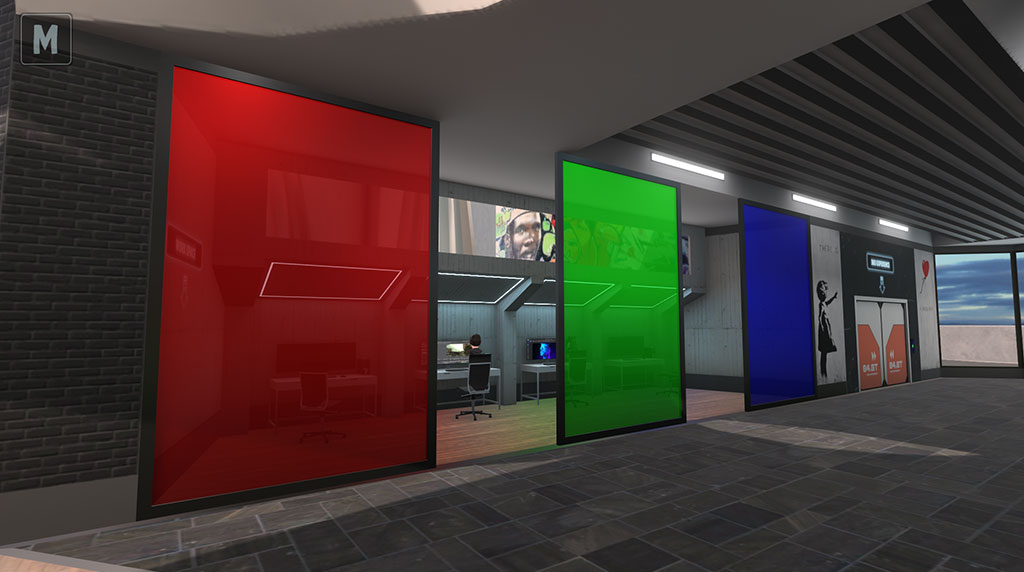
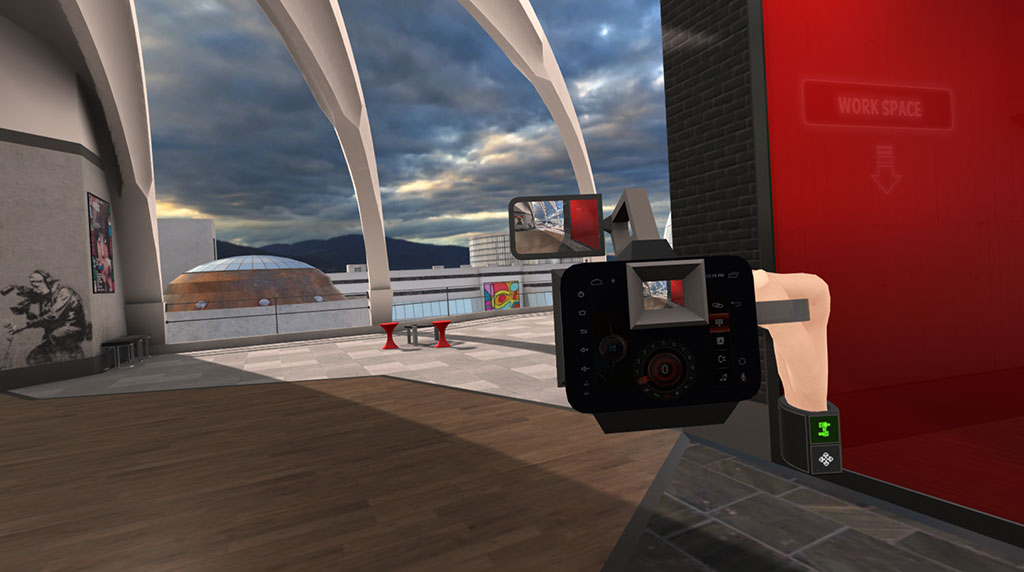
- Chroma Room: Video camera manipulation.
The desktop capture function is to transfer the images rendered on the Windows desktop to a screen within the environment. To do this, you have to go to the Show Point and click on the on/off button.
To lighten the data synchronization of the multiplayer function, only one zone can be “on” at a time.
For the same reason it is recommended not to play videos on the desktop, the function is designed to synchronize the actions of a user on their PC and display screens with a low refresh rate.

A total of 4 videos related to the world of university campuses and audiovisuals can be viewed. When you start playing a video, the control buttons will appear (play, pause, stop)

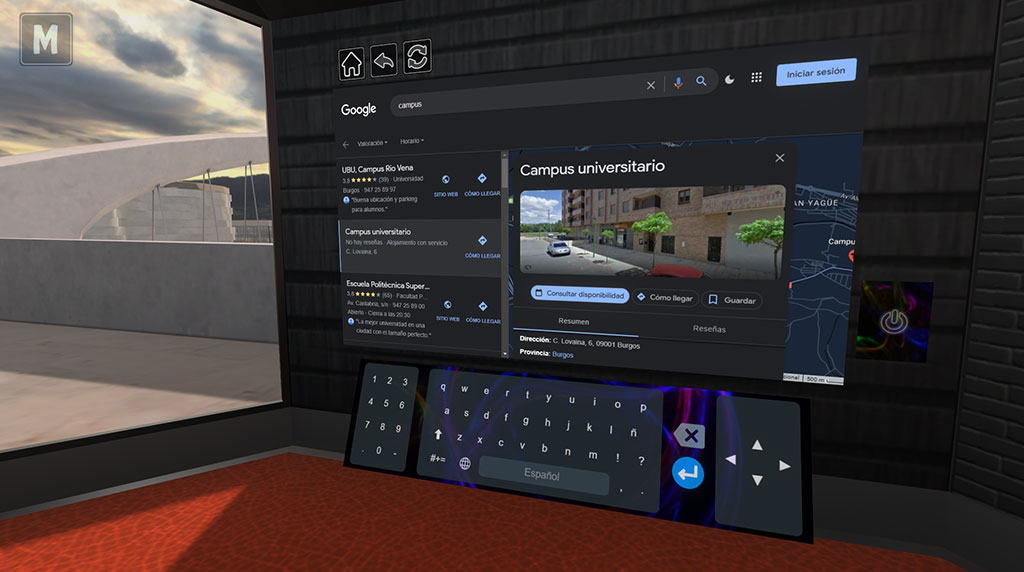
You will be able to access and browse the Internet. When starting, the basic navigation buttons will appear (home, back, refresh). There is also a virtual keyboard to search, fill in forms, etc…
In VR mode you can perform the scroll function using the “A” and “B” buttons of the right controller.
To enable sound in VR mode you need to select Oculus as audio output in Windows sound settings.
In this case, it is also recommended not to access video playback websites for the same reasons stated above.

It is a separate room where only one user can access at a time, it is an individual experience. To access the room, you can open and close mechanical doors by clicking on an action button located on the side.
Inside the room you can see 3 different experiences.
To exit the 360 view, you can press the "Esc" key in 3D mode or the "Grip" button of any of the 2 controllers in VR mode.

It is a room that represents a "chroma room", widely used in the audiovisual world. Inside the room there are 2 video cameras that the user can take, move around the environment and view it in the camera viewers.
This is a proof of concept, actual video recording and export will be implemented in a future version of the app.

| Conţinutul prezentului material reprezintă responsabilitatea exclusivă a autorilor, iar Agenţia Naţională şi Comisia Europeană nu sunt responsabile pentru modul în care va fi folosit conţinutul informaţiei. | |
 | |